How to Debug Python Code With an AI Agent
AI debugging is fixing broken code by pairing with an AI coding agent instead of hunting down bugs on your own. In this tutorial, you’ll debug Python code with an AI agent by reproducing a bug with a failing test, giving your agent the context it needs, and verifying the fix that gets your program running again.
Most developers seek what’s called a flow state when building programs or fixing code. This is a state of high focus. However, it can occasionally be interrupted by bugs. While debugging has for decades been largely carried out by humans aided by tools like pdb, AI coding agents have now become instrumental to the process, helping to make it faster.
The Python project that you’ll debug in this guide places you in the position of an alien pet owner using a tool to keep your pet happy. This tool has checks for when your pet is well fed and well rested. However, you’ve learned that your pet is never happy no matter how often it eats or rests. You suspect a bug, and your AI agent has come to the rescue.
By applying the steps in this tutorial, you’ll get this broken pet project back into a working state:
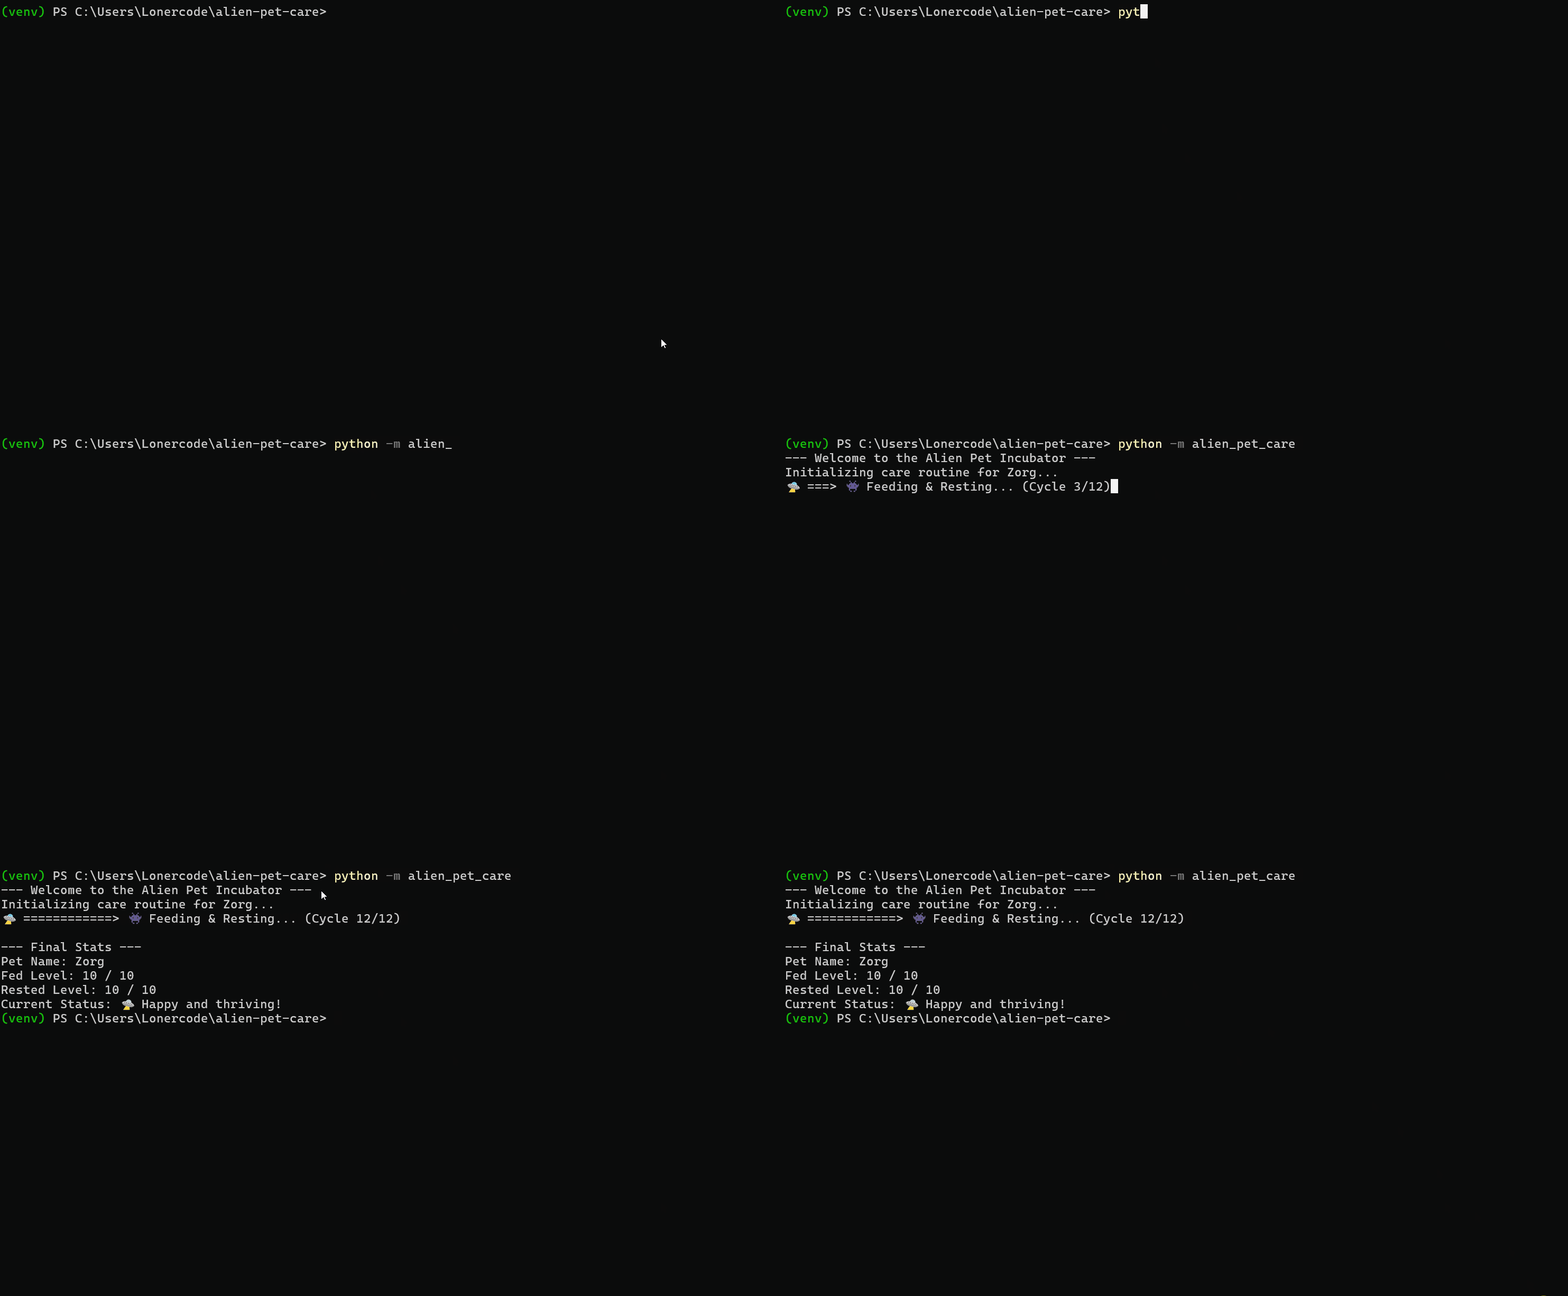
You’ll use the newly released Antigravity CLI by Google to see this workflow play out in real time. But if that’s not your preferred coding agent, that’s fine too, and you can still follow along with the steps.
Get Your Code: Click here to download the free sample code you’ll use to debug the broken alien pet project with an AI coding agent.
Take the Quiz: Test your knowledge with our interactive “How to Debug Python Code With an AI Agent” quiz. You’ll receive a score upon completion to help you track your learning progress:
Interactive Quiz
How to Debug Python Code With an AI Agent
Test your understanding of debugging Python code with an AI agent, from reproducing a bug with a failing test to verifying the fix.
Prerequisites
To work through this tutorial comfortably, you should have the following at your fingertips:
- Git commands: You should be comfortable setting up Git in your project’s root folder and working with a few basic commands.
- Python 3.11 or newer: You’ll need Python to run the sample project.
- A working AI coding agent: You’ll be using one to debug, so being familiar with an agent that can read and write files is important. This tutorial uses Antigravity CLI, and Step 1 walks through the setup.
- Python testing with
pytest: You should be comfortable reading and writing tests withpytest. You’ll write a failing test to reproduce the bug, then rerun it to confirm your agent’s fix works.
With these prerequisites in place, you’re ready to set up the alien pet project and start tracking down the bug that’s keeping your pet unhappy.
Step 1: Set Up Your Workspace for AI Debugging
If you already have a preferred agent set up, or you’ve already installed Antigravity CLI, skip the setup below and scroll to the directory tree to add the required files to your workspace.
To set up Antigravity CLI for this tutorial, you’ll need to have a Google account. If you’re familiar with the just-retired Gemini CLI, you’ll find that the setup processes are quite similar. First, go to the Antigravity CLI installation guide for instructions on installing it.
Choose the appropriate installation command for your operating system and run it in your terminal:
Once that’s done, your new AI coding agent is successfully installed. Next, create your project folder, initialize a virtual environment to safely isolate your dependencies, and activate it:
$ mkdir alien-pet-care
$ cd alien-pet-care
$ python -m venv venv
$ source venv/bin/activate
Activating the virtual environment ensures that any packages you install moving forward remain self-contained within this project directory. Depending on your operating system, your terminal prompt should now show the (venv) prefix.
Note: If you’re a Windows user running PowerShell, activate your environment using venv\Scripts\activate. If your system blocks the script, you can temporarily permit execution for your current session by running Set-ExecutionPolicy -ExecutionPolicy RemoteSigned -Scope Process.
Now, launch the CLI configuration inside your project directory by typing the following command:
(venv) $ agy
This triggers a first-launch setup, where you’ll be prompted to log in with your Google account details. You’ll be redirected to a page or instructed to paste an authorization code in an input field:
Read the full article at »
[ Improve Your Python With 🐍 Python Tricks 💌 – Get a short & sweet Python Trick delivered to your inbox every couple of days. >> Click here to learn more and see examples ]